i’m bringing home this guest post, my first tutorial and guest post ever, while I “recover” from KCWC and prepare for Em’s fourth birthday party.
this originally went up on Sparkle Power! as Candace took a blog break to welcome her new baby boy. the bib pattern is a simple design, easy-to-sew and functional, and the appliqué templates can be used on anything that needs a little embellishment. if you make something based on this tutorial, please add your creations to the flickr group!
**********************
I was so excited when Candace asked me to guest blog for her while she’s on maternity leave, and I am happy to share my pattern for a simple infant bib and some fun boyish appliqué templates with you today.

I’m a mostly self-taught, part-time working mama of two little ones, a 3 year old girl and a 9 month old boy, and I absolutely love to sew. After learning on toddler skirts and dresses for my daughter, I wasn’t sure what I would sew when I found out I was having a boy.

I also come from a family of four girls, so the whole boy thing was very new to me! I quickly discovered that it’s just as fulfilling to sew for boys, since commercial clothes for little guys tend to be a bit…plain. Knowing how to sew makes it very easy to do something about that!

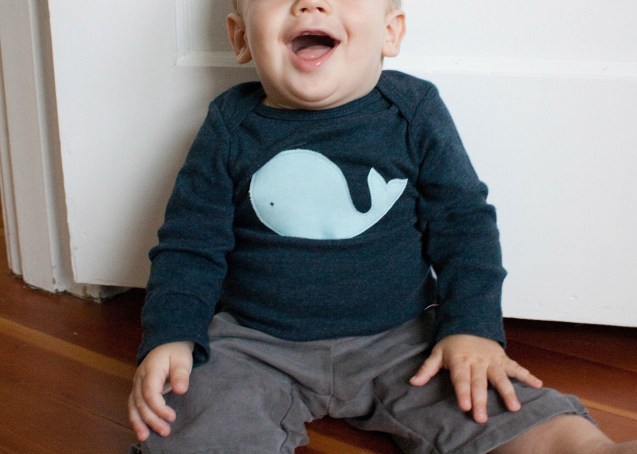
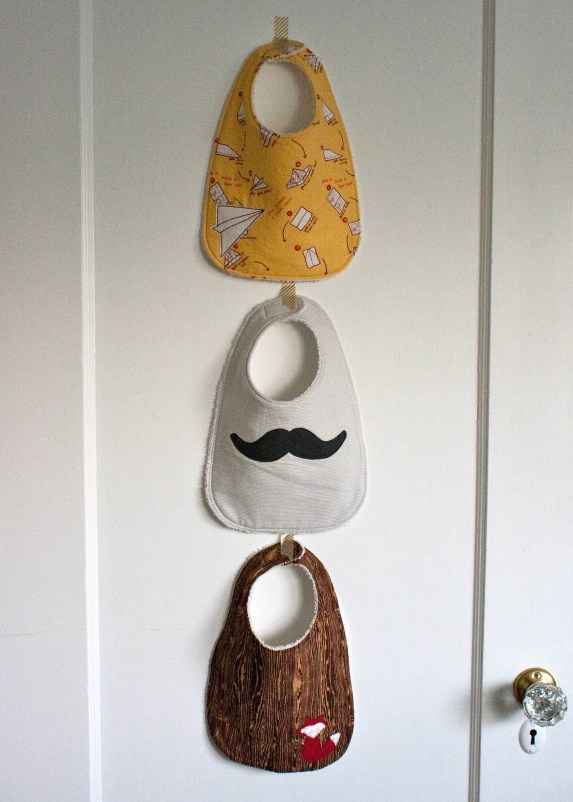
My bib template works for young infants (spitup happens), but it’s also big enough to work for older babies messily trying out solid food. It’s a quick bib to make, and a great use of scraps or fat quarters. I’ve drawn an old timey handlebar moustache, paper plane, whale, and fox templates for you to trace and use.
Appliqué is great for livening up plain onesies, baby blankets, and burp cloths. Baby boys deserve fun threads too!
DOWNLOAD THE FREE BIB PATTERN & BOY APPLIQUÉ TEMPLATES:
bib pattern
appliqué templates
MATERIALS:

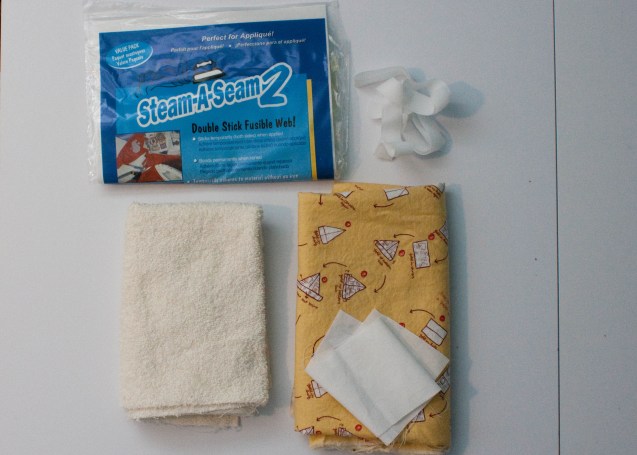
- Main fabric for front (quilting cotton or flannel works great)
- Thicker absorbent fabric for back (I like using terry cloth/old towel or minky)
- Coordinating fabric scrap for appliqué
- Velcro or snaps
- Double stick fusible web
- Point turner, chopstick, or knitting needle
- Bib pattern and appliqué templates (see links above)
TUTORIAL
Cut out bib template, trace shape onto main fabric on the fold (I traced mine onto cardboard since I use it so often). Cut out the bib front.
Place bib front right sides together with backing fabric, pin, cut out the backing in the general shape of the front bib. This allows for a little margin of error while sewing, since terry cloth tends to shift a little bit. It’s also quicker because you don’t need to be as accurate while cutting out the backing. Pin around the edges, marking a 2″ opening to turn.
Sew together with a 3/8″ seam allowance using the bib front as your guide, backstitching at the opening.
Trim seam allowance to 1/4″ except at opening. Clip into curves around neck line and bottom edges.
Turn rightside out, using your point turner to poke out the neck tabs completely. Finger press, then press with an iron on the front side of the bib (terry-cloth and minky don’t iron well).
Topstitch around the outer edge of the bib 1/8″ from edge.
Sew on velcro. Sew 1.5″ of the fuzzy side on to the backing side of the left neck tab, and 1″ of the scratchy side onto the front side of the right neck tab (or add snaps, if your little one is prone to compulsively ripping off their bib).
Trace your appliqué onto the fusible web paper. Cut out the general shape. Remove the backing paper, stick it to the wrong side of your scrap, then cut out your shape (I have a pair of sewing scissors dedicated to this purpose). Don’t cut the inner lines of the paper plane. They’re provided to guide your stitching later.
Remove the other side of the paper backing, and place appliqué where you’d like it. Iron it to fuse to the bib, then machine stitch close to the edge to secure, using whatever stitch you’d like (straight, zigzag, blanket, etc.). The web prevents it from fraying, but if you use a straight stitch it will get a little fuzzy around the edge after a few trips through the wash. I like that look.
Add details to the appliqué. For the whale’s eye, I use fabric marker, but it could also be embroidered. Appliqué small scraps of the terry for the fox’s face and tip of the tail. Mark the paper plane’s “folds” with disappearing fabric pen and use contrasting thread in your machine to stitch the detail.
Put a bib (or three) on your little fella, and enjoy the cuteness!
Thanks for having me,
Candace! I’m so happy for you to have a little guy of your very own – they are such fun.
Enjoy those wonderful newborn snuggles!


Love the little whale! So sweet – may well be making my boy one of those, thank you.
my five year old daughter, indigo was looking at this with me and exclaimed, “a baby mustache bib??!!” and we both started laughing. it hasn’t gotten old to our family yet. so funny!
the fox is incredibly cute – i love it! they are all so cute. nice work!
Thank you so much for sharing this tutorial!!!! I love the paper airplane applique, it’s perfect because I just bought the same Michael Miller fabric to make a shirt for my little guy! So excited to make that shirt now (I’m still trying to master making the collar)!
I just made some bibs for baby shower gifts, but I love your addition of the appliques! Such a simple touch, yet adds that something extra!
Sooooo awesome! Love the applique patterns!
Is it Movember yet? I seriously am in love with this Kristin! GAH! SO stinking cute! I needed to feature it as one of today’s top patterns – seriously. Just love.
Thanks so much for sharing!!!!
Thanks so much for posting this tutorial – it was very helpful 🙂
Super cute! That wood grain fabric is to die for!!
Thank you for the great applique templates! I’ve linked to your blog on my site (www.sew4generations.com). I used the whale template to make an adorable bib with ric rac. Thank you!